Introduction
In today’s cloud-native world, managing data across different environments is a common challenge. Cloudflare D1, a serverless SQL database that runs on the edge, is gaining popularity for its seamless integration with Cloudflare Workers. However, there are times when you need to migrate data from D1 to a traditional relational database like MySQL for various reasons such as analytics, reporting, or application requirements. This is where Sling comes in, offering a streamlined solution for data migration between these platforms.
The Challenge of D1 to MySQL Migration
Traditional approaches to migrating data from D1 to MySQL often involve:
- Writing custom scripts using programming languages
- Managing database connections and authentication
- Handling data type conversions
- Implementing proper error handling
- Setting up pagination for large datasets
- Ensuring data consistency during migration
- Managing schema differences
These steps can become quite complex, especially when dealing with large datasets or when you need to maintain and update the migration process over time. Let’s see how Sling simplifies this entire workflow.
Understanding the Components
Before diving into the migration process, let’s understand the key components involved in our data pipeline.
Cloudflare D1
Cloudflare D1 is a serverless SQL database that:
- Runs on Cloudflare’s edge network
- Uses SQLite under the hood
- Integrates seamlessly with Cloudflare Workers
- Provides automatic scaling and high availability
- Offers low-latency access from edge locations
MySQL
MySQL is a popular open-source relational database that:
- Provides robust ACID compliance
- Supports complex queries and transactions
- Offers extensive indexing capabilities
- Handles large-scale data efficiently
- Has a rich ecosystem of tools and integrations
Sling’s Role
Sling bridges the gap between D1 and MySQL by providing:
- Simple command-line interface
- YAML-based configuration
- Automatic schema mapping
- Efficient bulk loading
- Real-time monitoring
- Error handling and recovery
Getting Started with Sling
Before we dive into the migration process, let’s set up Sling on your system. Sling offers multiple installation methods to suit different operating systems and preferences.
Installation
Choose the installation method that matches your operating system:
# Install using Homebrew (macOS)
brew install slingdata-io/sling/sling

# Install using curl (Linux)
curl -LO 'https://github.com/slingdata-io/sling-cli/releases/latest/download/sling_linux_amd64.tar.gz' \
  && tar xf sling_linux_amd64.tar.gz \
  && rm -f sling_linux_amd64.tar.gz \
  && chmod +x sling

# Install using Scoop (Windows)
scoop bucket add sling https://github.com/slingdata-io/scoop-sling.git
scoop install sling

# Install using Python pip
pip install sling
After installation, verify that Sling is properly installed by checking its version:
# Check Sling version
sling --version
For more detailed installation instructions, visit the Sling CLI Getting Started Guide.
Initial Configuration
Sling uses a configuration directory to store connection details and other settings. The configuration directory is typically located at:
- Linux/macOS:
~/.sling/ - Windows:
C:\Users\<username>\.sling\
The first time you run Sling, it will automatically create this directory and a default configuration file. You can also specify a custom location using the SLING_HOME_DIR environment variable.
Understanding Sling’s Architecture
Sling’s architecture is designed for efficient data movement:
Connection Management
- Secure credential storage
- Multiple connection methods support
- Connection pooling and reuse
Data Processing
- Streaming data transfer
- Automatic type conversion
- Configurable batch sizes
Monitoring and Control
- Real-time progress tracking
- Detailed logging
- Error handling and recovery
For more detailed configuration options and best practices, refer to the Sling CLI Environment documentation.
Setting Up Database Connections
Before we can start migrating data, we need to configure our source (D1) and target (MySQL) connections. Let’s look at what you’ll need for each system and how to set them up.
D1 Connection Setup
To connect to Cloudflare D1, you’ll need:
- Cloudflare Account ID
- API Token with appropriate permissions
- D1 Database name
You can set up the D1 connection using the CLI:
# Set up D1 connection using CLI
sling conns set d1_source type=d1 account_id=your_account_id api_token=your_api_token database=your_database_name
Alternatively, you can define the connection in your environment file (env.yaml):
# D1 connection configuration
connections:
  d1_source:
    type: d1
    account_id: ${CF_ACCOUNT_ID}
    api_token: ${CF_API_TOKEN}
    database: ${D1_DATABASE}
For more details about D1 connection options, visit the D1 Connection Guide.
MySQL Connection Setup
For MySQL, you’ll need:
- Host address
- Port number (default: 3306)
- Database name
- Username and password
- SSL configuration (if required)
Set up the MySQL connection using the CLI:
# Set up MySQL connection using CLI
sling conns set mysql_target type=mysql host=your_host port=3306 database=your_database user=your_username password=your_password
Or in your env.yaml:
# MySQL connection configuration
connections:
  mysql_target:
    type: mysql
    host: ${MYSQL_HOST}
    port: ${MYSQL_PORT}
    database: ${MYSQL_DATABASE}
    user: ${MYSQL_USER}
    password: ${MYSQL_PASSWORD}
For more details about MySQL connection options, visit the MySQL Connection Guide.
Testing Connections
After setting up your connections, it’s important to verify they work correctly:
# List all configured connections
sling conns list

# Test D1 connection
sling conns test d1_source

# Test MySQL connection
sling conns test mysql_target

# Discover available tables in D1
sling conns discover d1_source
Environment Variables and Security
For better security, it’s recommended to use environment variables for sensitive credentials. You can create a .env file in your project directory:
# D1 credentials
CF_ACCOUNT_ID=your_account_id
CF_API_TOKEN=your_api_token
D1_DATABASE=your_database

# MySQL credentials
MYSQL_HOST=your_host
MYSQL_PORT=3306
MYSQL_DATABASE=your_database
MYSQL_USER=your_username
MYSQL_PASSWORD=your_password
Then, reference these variables in your env.yaml file as shown in the connection configurations above. This approach keeps sensitive information out of your version control system and allows for different configurations in different environments.
Basic Data Migration with CLI
Once your connections are set up, you can start migrating data from D1 to MySQL using Sling’s CLI. Let’s explore different approaches, from simple table migrations to more complex scenarios.
Simple Table Migration
The most basic way to migrate data is using the sling run command with source and target specifications:
# Migrate a single table from D1 to MySQL
sling run \
  --src-conn d1_source \
  --src-stream "users" \
  --tgt-conn mysql_target \
  --tgt-object "users"
This command will:
- Connect to your D1 database
- Read all data from the “users” table
- Create or update the target table in MySQL
- Transfer the data efficiently
Using Custom SQL Queries
For more control over the data being migrated, you can use custom SQL queries:
# Migrate data using a custom SQL query
sling run \
  --src-conn d1_source \
  --src-stream "SELECT id, name, email, created_at FROM users WHERE created_at > '2024-01-01'" \
  --tgt-conn mysql_target \
  --tgt-object "recent_users" \
  --src-options '{ "select": "id, name, email, created_at", "table_keys": ["id"] }' \
  --tgt-options '{ "column_casing": "snake", "add_new_columns": true }'
This example shows how to:
- Select specific columns
- Filter data using a WHERE clause
- Specify primary keys
- Configure column naming in the target
- Enable automatic column addition
Advanced CLI Options
For more complex scenarios, you can use additional CLI flags to customize the migration:
# Advanced migration with multiple options
sling run \
  --src-conn d1_source \
  --src-stream "orders" \
  --tgt-conn mysql_target \
  --tgt-object "orders" \
  --mode full \
  --tgt-options '{
    "column_casing": "snake",
    "add_new_columns": true
  }'
This advanced example demonstrates:
- Specifying column data types
- Setting up indexes and foreign keys
- Using full mode for complete table refresh
For more details about CLI flags and options, visit the CLI Flags Overview.
Advanced Data Migration with YAML
While the CLI is great for quick migrations, YAML configurations provide more flexibility and reusability for complex migration scenarios. Let’s explore how to use YAML configurations for D1 to MySQL migrations.
Basic YAML Configuration
Here’s a basic example that replicates multiple tables:
# Basic replication configuration
source: d1_source
target: mysql_target

defaults:
  mode: full-refresh
  target_options:
    add_new_columns: true
    column_casing: snake

streams:
  users:
    object: users
    primary_key: [id]

  orders:
    object: orders
    primary_key: [order_id]
    select:
      - order_id
      - user_id
      - total_amount
      - status
      - created_at
Complex Multi-Stream Example
Here’s a more complex example that showcases advanced features:
# Advanced replication configuration
source: d1_source
target: mysql_target

defaults:
  mode: incremental
  target_options:
    add_new_columns: true
    column_casing: snake
    table_keys:
      primary: [id]

streams:
  users:
    object: analytics.users
    primary_key: [id]
    update_key: updated_at
    select:
      - id
      - username
      - email
      - status
      - created_at
      - updated_at
    target_options:
      table_keys:
        unique: [email]

  orders:
    object: analytics.orders
    primary_key: [order_id]
    update_key: order_date
    sql: |
      SELECT
        o.*,
        u.username as customer_name,
        u.email as customer_email
      FROM orders o
      JOIN users u ON o.user_id = u.id
      WHERE o.order_date >= '2024-01-01'

  order_items:
    object: analytics.order_items
    primary_key: [order_id, item_id]
    update_key: updated_at
To run a replication using a YAML configuration:
# Run replication using YAML config
sling run -r d1_to_mysql.yaml
For more information about YAML configurations, refer to:
The Sling Platform
While the CLI is powerful for local development and simple workflows, the Sling Platform provides a comprehensive web-based interface for managing your data operations at scale. Let’s explore the key components and features of the platform.
Web Interface
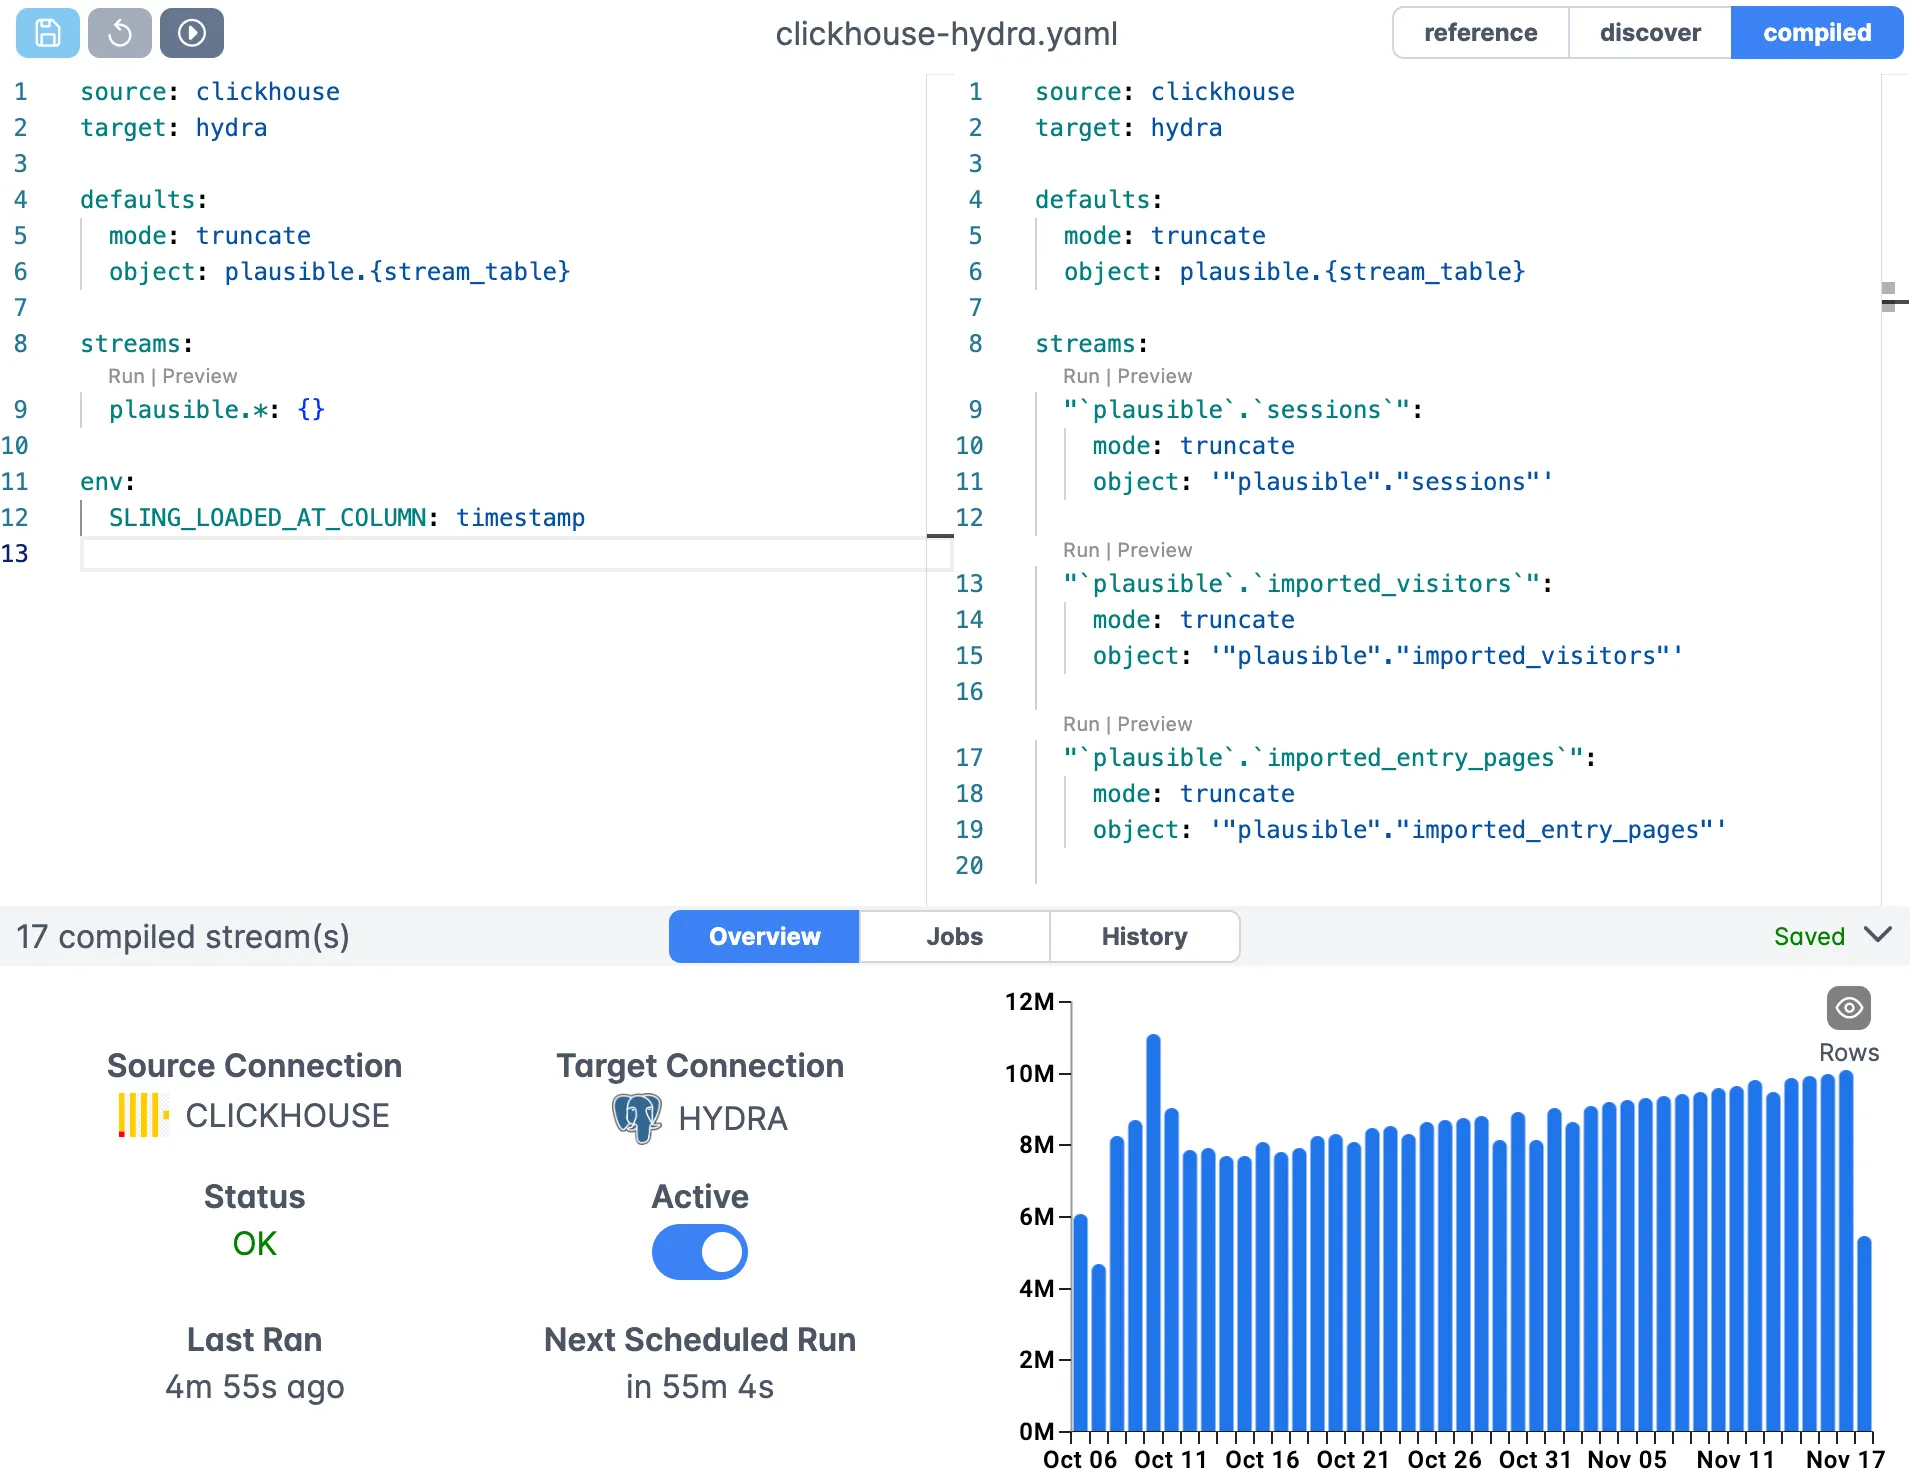
The Sling Platform offers an intuitive web interface for managing your data operations:

The web interface provides:
- Visual replication editor
- Real-time validation
- Syntax highlighting
- Auto-completion
- Version control integration
Connection Management
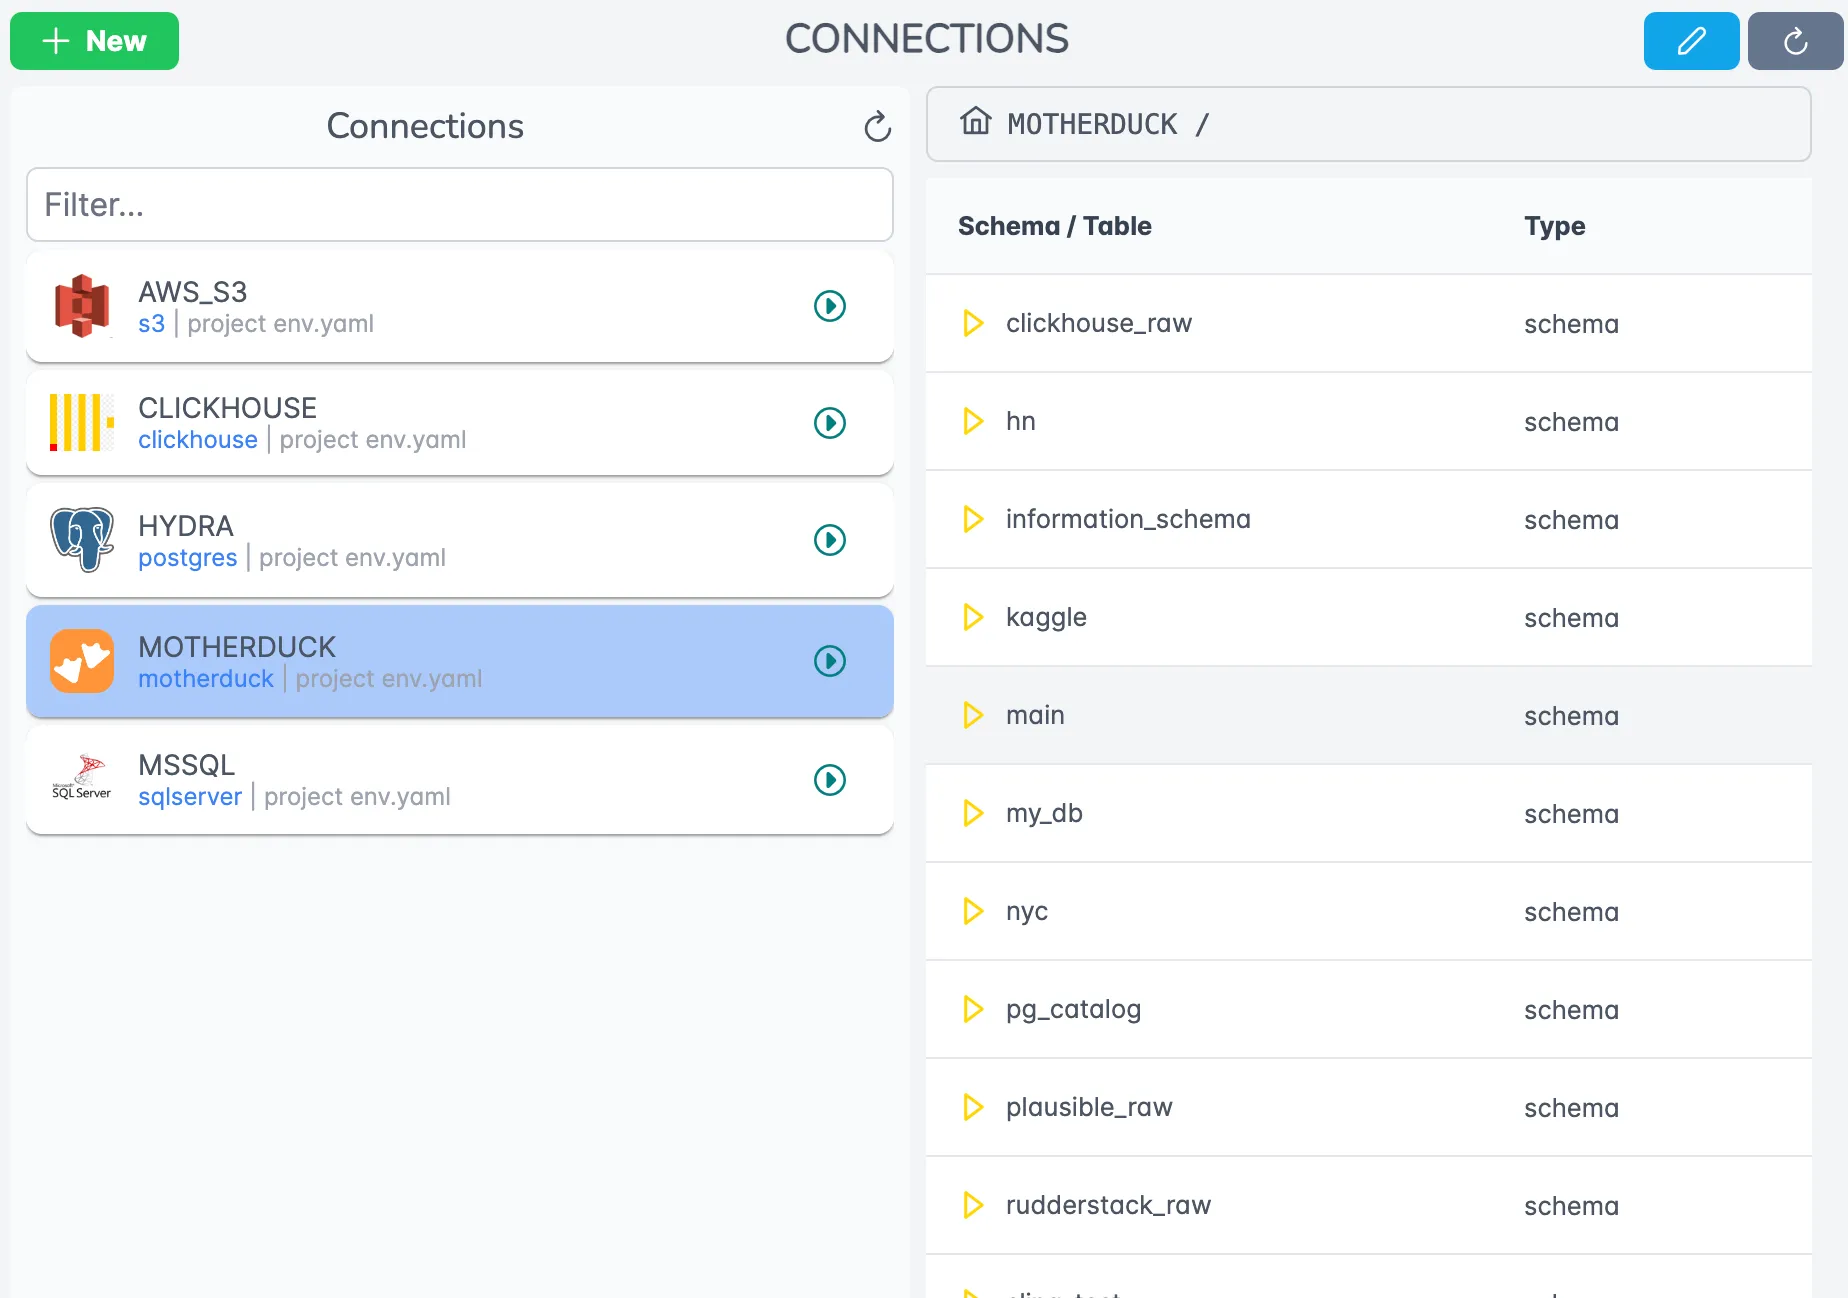
Manage all your connections in one place:

The platform offers:
- Centralized credential management
- Connection health monitoring
- Easy testing and validation
- Team access controls
Monitoring and Logging
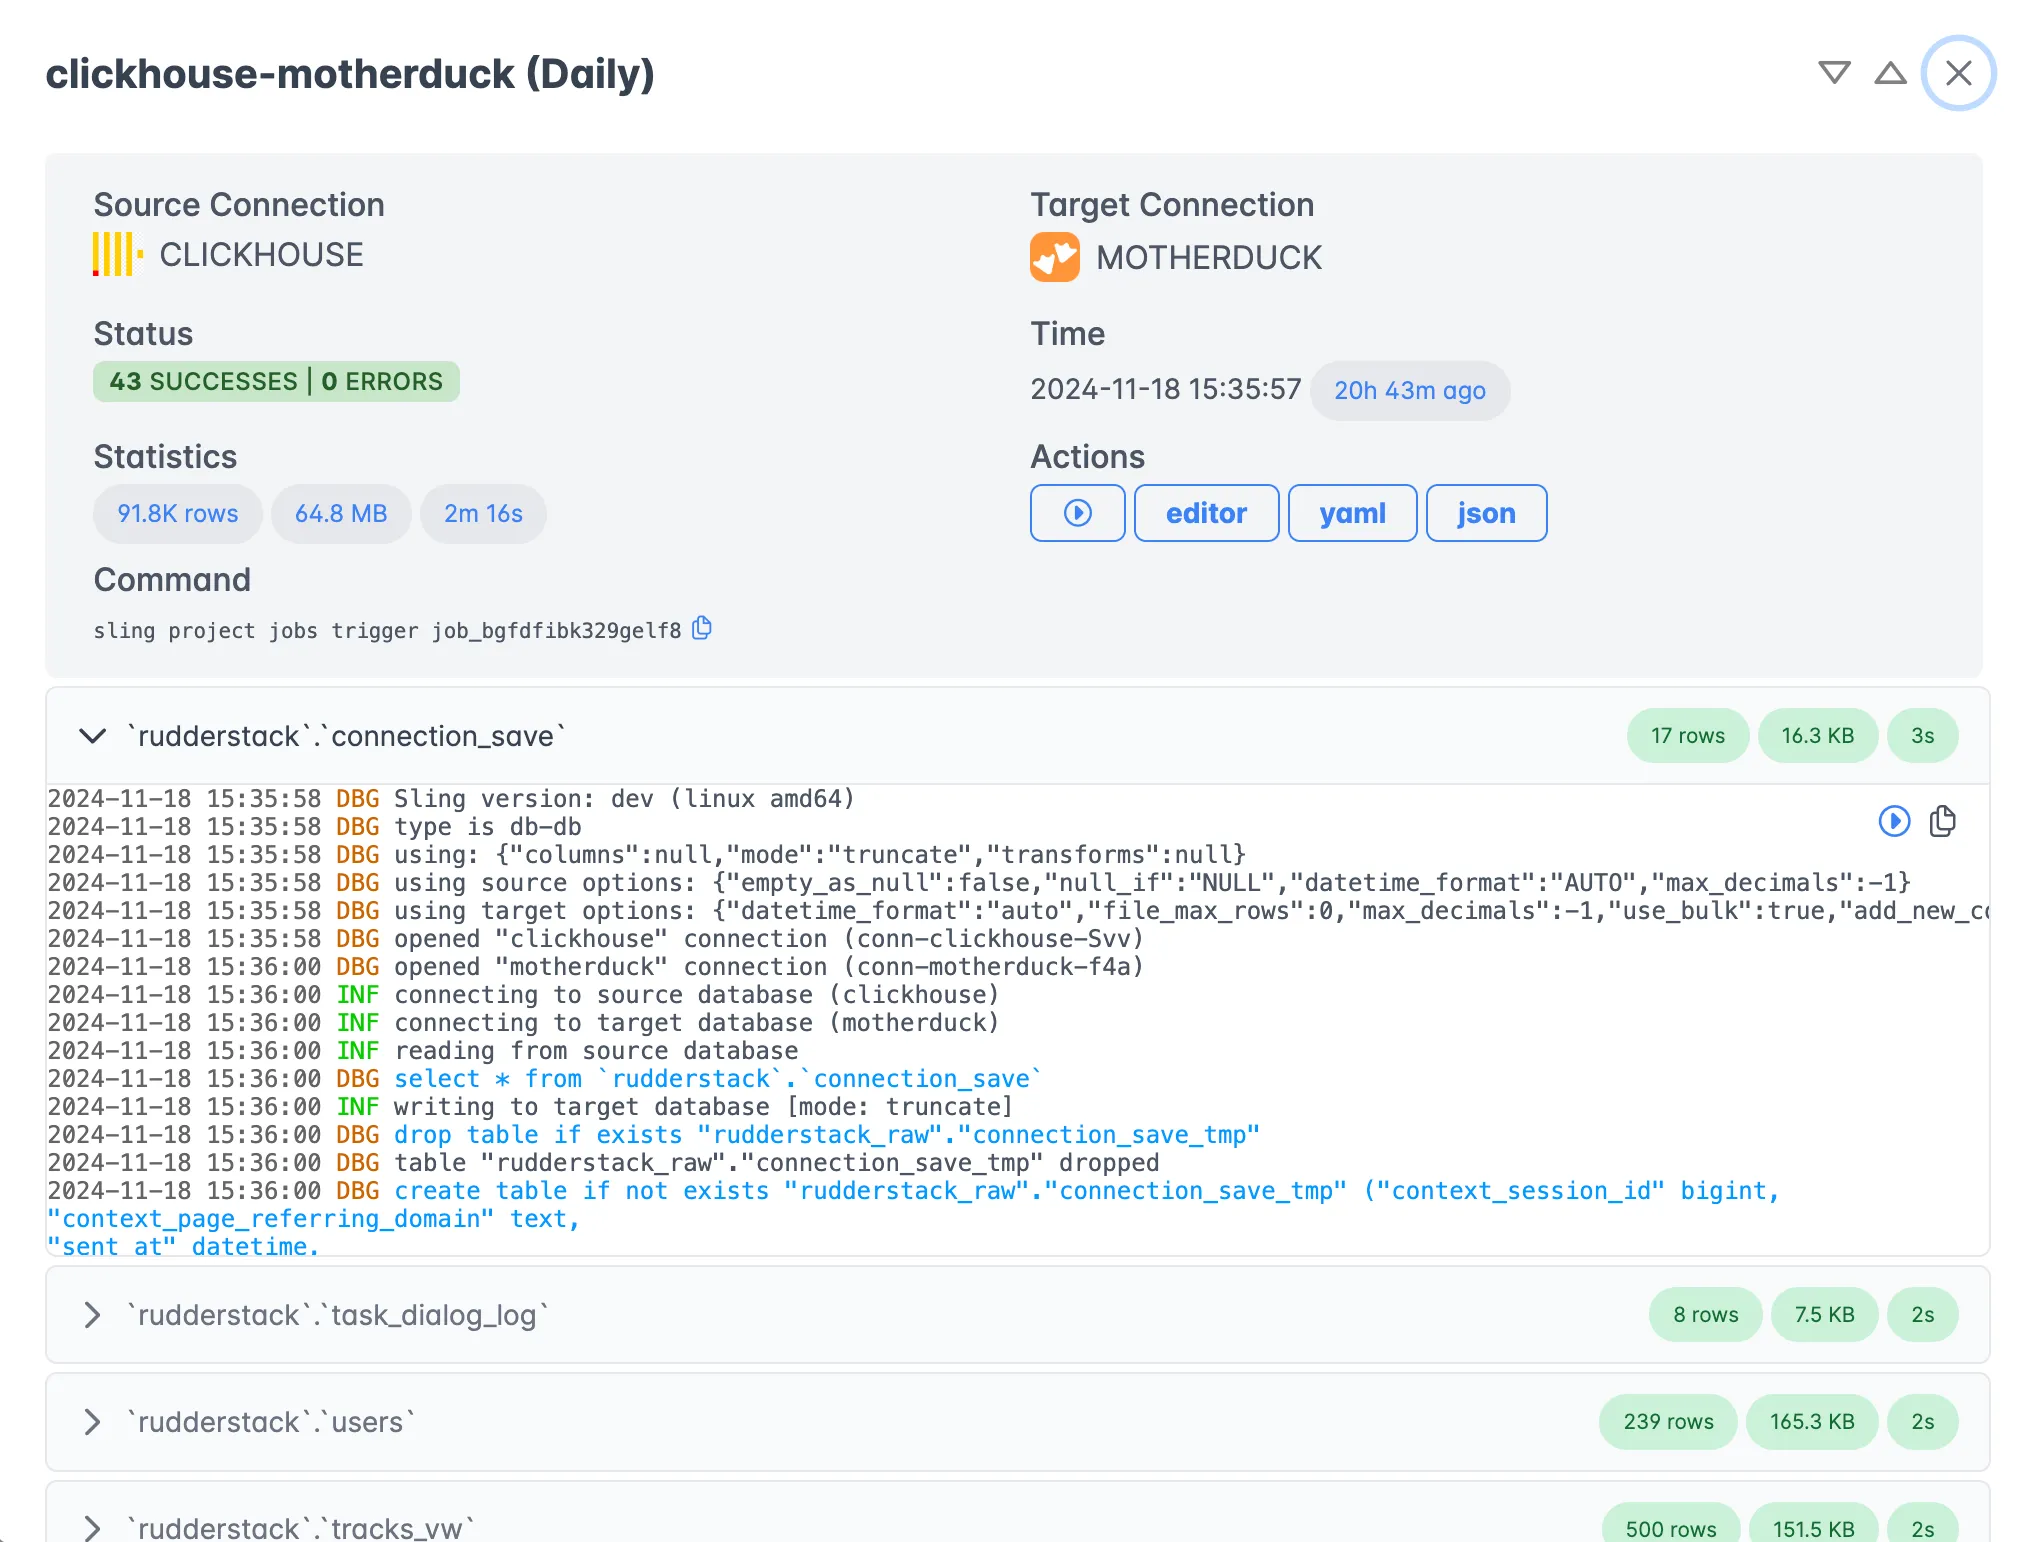
Track your data operations in real-time:

Features include:
- Real-time progress tracking
- Detailed execution logs
- Performance metrics
- Error reporting and alerts
For more information about the Sling Platform, visit:
Best Practices and Next Steps
Now that you have your D1 to MySQL data migration set up with Sling, here are some best practices and next steps to consider.
Performance Optimization
Batch Size Configuration
- Adjust batch sizes based on your data volume
- Monitor memory usage during transfers
- Consider network latency between sources
Index Management
- Create appropriate indexes before large migrations
- Consider dropping and recreating indexes after bulk loads
- Use table keys for efficient incremental updates
Resource Planning
- Schedule large migrations during off-peak hours
- Monitor system resources during transfers
- Consider using the Sling Platform for better resource management
Security Best Practices
Credential Management
- Use environment variables for sensitive information
- Rotate API tokens regularly
- Implement proper access controls
- Use SSL/TLS for database connections
Data Protection
- Validate data integrity after migrations
- Implement proper backup procedures
- Monitor access logs
- Follow data privacy regulations
Monitoring and Maintenance
Regular Health Checks
- Monitor connection status
- Check replication logs
- Validate data consistency
- Track performance metrics
Error Handling
- Set up alerts for failed migrations
- Implement retry mechanisms
- Keep detailed error logs
- Plan for recovery scenarios
Additional Resources
Documentation
Examples and Tutorials
Connection Types
Getting Help
Join the Sling community to get help and share experiences:
- GitHub Discussions
- Discord Community
- Contact support at [email protected]


