Introduction
Moving data from SFTP servers to Snowflake data warehouses is a common requirement in modern data architectures. When dealing with Parquet files, this process can become complex, requiring careful handling of file formats, data types, and transfer mechanisms. Traditional approaches often involve multiple tools and custom scripts, leading to maintenance overhead and potential points of failure.
Enter Sling, a modern data movement tool designed to simplify these complex data pipelines. In this comprehensive guide, we’ll walk through the process of setting up an efficient data transfer pipeline from an SFTP server (containing Parquet files) to a Snowflake data warehouse using Sling.
Understanding the Tools
Before diving into the implementation, let’s understand the key components involved:
SFTP (Secure File Transfer Protocol)
SFTP provides a secure way to transfer files over a network. It’s widely used in enterprise environments for its security features and reliability. When dealing with data transfers, SFTP ensures that sensitive data is encrypted during transmission.
Parquet File Format
Apache Parquet is a columnar storage file format designed for efficient data storage and retrieval. Its key advantages include:
- Efficient compression and encoding schemes
- Optimized performance for large-scale queries
- Schema evolution capabilities
- Reduced storage costs
Snowflake Data Warehouse
Snowflake is a cloud-based data warehouse platform that offers:
- Scalable storage and compute resources
- Support for semi-structured data
- Built-in optimization for large-scale analytics
- Robust security features
Sling Platform
Sling is a modern data movement and transformation platform that bridges these technologies:
- Simplified connection management
- Support for multiple file formats including Parquet
- Built-in monitoring and error handling
- Both CLI and UI-based approaches
Getting Started with Sling
Let’s begin by installing Sling on your system. Sling offers multiple installation methods to suit different environments.
Installation
Choose the installation method that best suits your operating system:
# Install using Homebrew (macOS)
brew install slingdata-io/sling/sling

# Install using curl (Linux)
curl -LO 'https://github.com/slingdata-io/sling-cli/releases/latest/download/sling_linux_amd64.tar.gz' \
  && tar xf sling_linux_amd64.tar.gz \
  && rm -f sling_linux_amd64.tar.gz \
  && chmod +x sling

# Install using Scoop (Windows)
scoop bucket add sling https://github.com/slingdata-io/scoop-sling.git
scoop install sling

# Install using Python pip
pip install sling
After installation, verify that Sling is properly installed by checking its version:
# Check Sling version
sling --version
For more detailed installation instructions and options, visit the Sling CLI Getting Started Guide.
Setting Up Connections
Before we can transfer data, we need to configure both our source (SFTP) and target (Snowflake) connections. Sling provides multiple ways to manage connections, including environment variables and a YAML configuration file.
SFTP Connection Setup
The SFTP connection requires authentication details to securely access your SFTP server. Here’s how to set it up:
# Set up SFTP connection using CLI
sling conns set MY_SFTP type=sftp host=<host> user=<user> password=<password> port=22

# Alternative: Using URL format
sling conns set MY_SFTP url=sftp://myuser:[email protected]:22
For enhanced security, you can use SSH key authentication:
# In ~/.sling/env.yaml
connections:
  MY_SFTP:
    type: sftp
    host: <host>
    user: <user>
    port: 22
    private_key: <path_to_private_key>
    passphrase: <optional_passphrase>
Snowflake Connection Setup
For Snowflake, we need to provide database credentials and connection details:
# Set up Snowflake connection using CLI
sling conns set SNOWFLAKE type=snowflake account=<account> user=<user> database=<database> password=<password> role=<role>

# Alternative: Using URL format
sling conns set SNOWFLAKE url="snowflake://myuser:[email protected]/mydatabase?schema=<schema>&role=<role>"
You can also configure the connection in your environment file:
# In ~/.sling/env.yaml
connections:
  SNOWFLAKE:
    type: snowflake
    account: <account>
    user: <user>
    password: <password>
    database: <database>
    schema: <schema>
    role: <role>
    warehouse: <warehouse>
Environment Variables
For production environments, you might prefer using environment variables:
# SFTP connection
export MY_SFTP='{type: sftp, url: "sftp://myuser:[email protected]:22"}'

# Snowflake connection
export SNOWFLAKE='snowflake://myuser:[email protected]/mydatabase?schema=<schema>&role=<role>'
Testing Connections
After setting up your connections, it’s important to verify they work correctly:
# Test SFTP connection
sling conns test MY_SFTP

# Test Snowflake connection
sling conns test SNOWFLAKE

# List available connections
sling conns list
For more details about connection configuration, refer to the Sling Environment documentation.
Data Transfer Using Sling CLI
With our connections set up, we can now transfer Parquet files from SFTP to Snowflake. Sling provides multiple approaches to accomplish this, from simple CLI commands to more sophisticated replication configurations.
Basic Transfer Command
The simplest way to transfer a single Parquet file is using the CLI:
# Transfer a single Parquet file
sling run --src-conn MY_SFTP --src-stream '/path/to/data.parquet' \
  --tgt-conn SNOWFLAKE \
  --tgt-object 'my_schema.my_table' \
  --mode full-refresh
Advanced Transfer Options
For more complex scenarios, you can add various options:
# Transfer multiple Parquet files with specific options
sling run --src-conn MY_SFTP --src-stream '/path/to/data/*.parquet' \
  --tgt-conn SNOWFLAKE \
  --tgt-object 'my_schema.my_table' \
  --mode full-refresh \
  --source-options '{empty_as_null: true}' \
  --target-options '{column_casing: snake, add_new_columns: true}'
Using Replication YAML
For more maintainable and repeatable transfers, use a replication YAML file:
# sftp_to_snowflake.yaml
source: MY_SFTP
target: SNOWFLAKE

defaults:
  mode: full-refresh
  target_options:
    column_casing: snake
    add_new_columns: true

streams:
  '/path/to/customers/*.parquet':
    object: analytics.customers
    transforms:
      - remove_accents
    target_options:
      table_keys:
        primary_key: [customer_id]

  '/path/to/orders/*.parquet':
    object: analytics.orders
    transforms:
      - remove_accents
    target_options:
      table_keys:
        primary_key: [order_id]
Run the replication with:
# Run the replication
sling run -r sftp_to_snowflake.yaml
Complex Replication Example
Here’s a more sophisticated example that showcases additional features:
# complex_sftp_to_snowflake.yaml
source: MY_SFTP
target: SNOWFLAKE

env:
  DATA_PATH: /data/exports
  TARGET_SCHEMA: analytics

defaults:
  mode: full-refresh
  source_options:
    empty_as_null: true
  target_options:
    column_casing: snake
    add_new_columns: true
    table_ddl: |
      create table if not exists {schema}.{table} (
        {col_types},
        _sling_loaded_at timestamp default current_timestamp()
      )

streams:
  '{data_path}/customers/*.parquet':
    object: {target_schema}.customers
    transforms:
      '*': remove_accents
      email: lower # lowercase email values
    target_options:
      table_keys:
        primary_key: [customer_id]
      pre_sql: truncate table {target_schema}.customers

  '{data_path}/orders/*.parquet':
    object: {target_schema}.orders
    transforms:
      - remove_accents
    target_options:
      table_keys:
        primary_key: [order_id]
      post_sql: |
        update {target_schema}.orders
        set status = 'PROCESSED'
        where status is null

env:
  data_path: ${DATA_PATH} # from env variable
This example includes:
- Runtime variables (
{data_path},{target_schema}) - Table creation with custom DDL
- Column transformations
- Pre and post SQL execution
- Table key definitions
For more details about replication configuration, check out the Replication documentation.
Using Sling Platform (UI)
While the CLI is powerful for local development and automation, Sling Platform provides a user-friendly interface for managing data transfers at scale. Let’s explore how to accomplish the same SFTP to Snowflake transfer using the platform.
Platform Overview
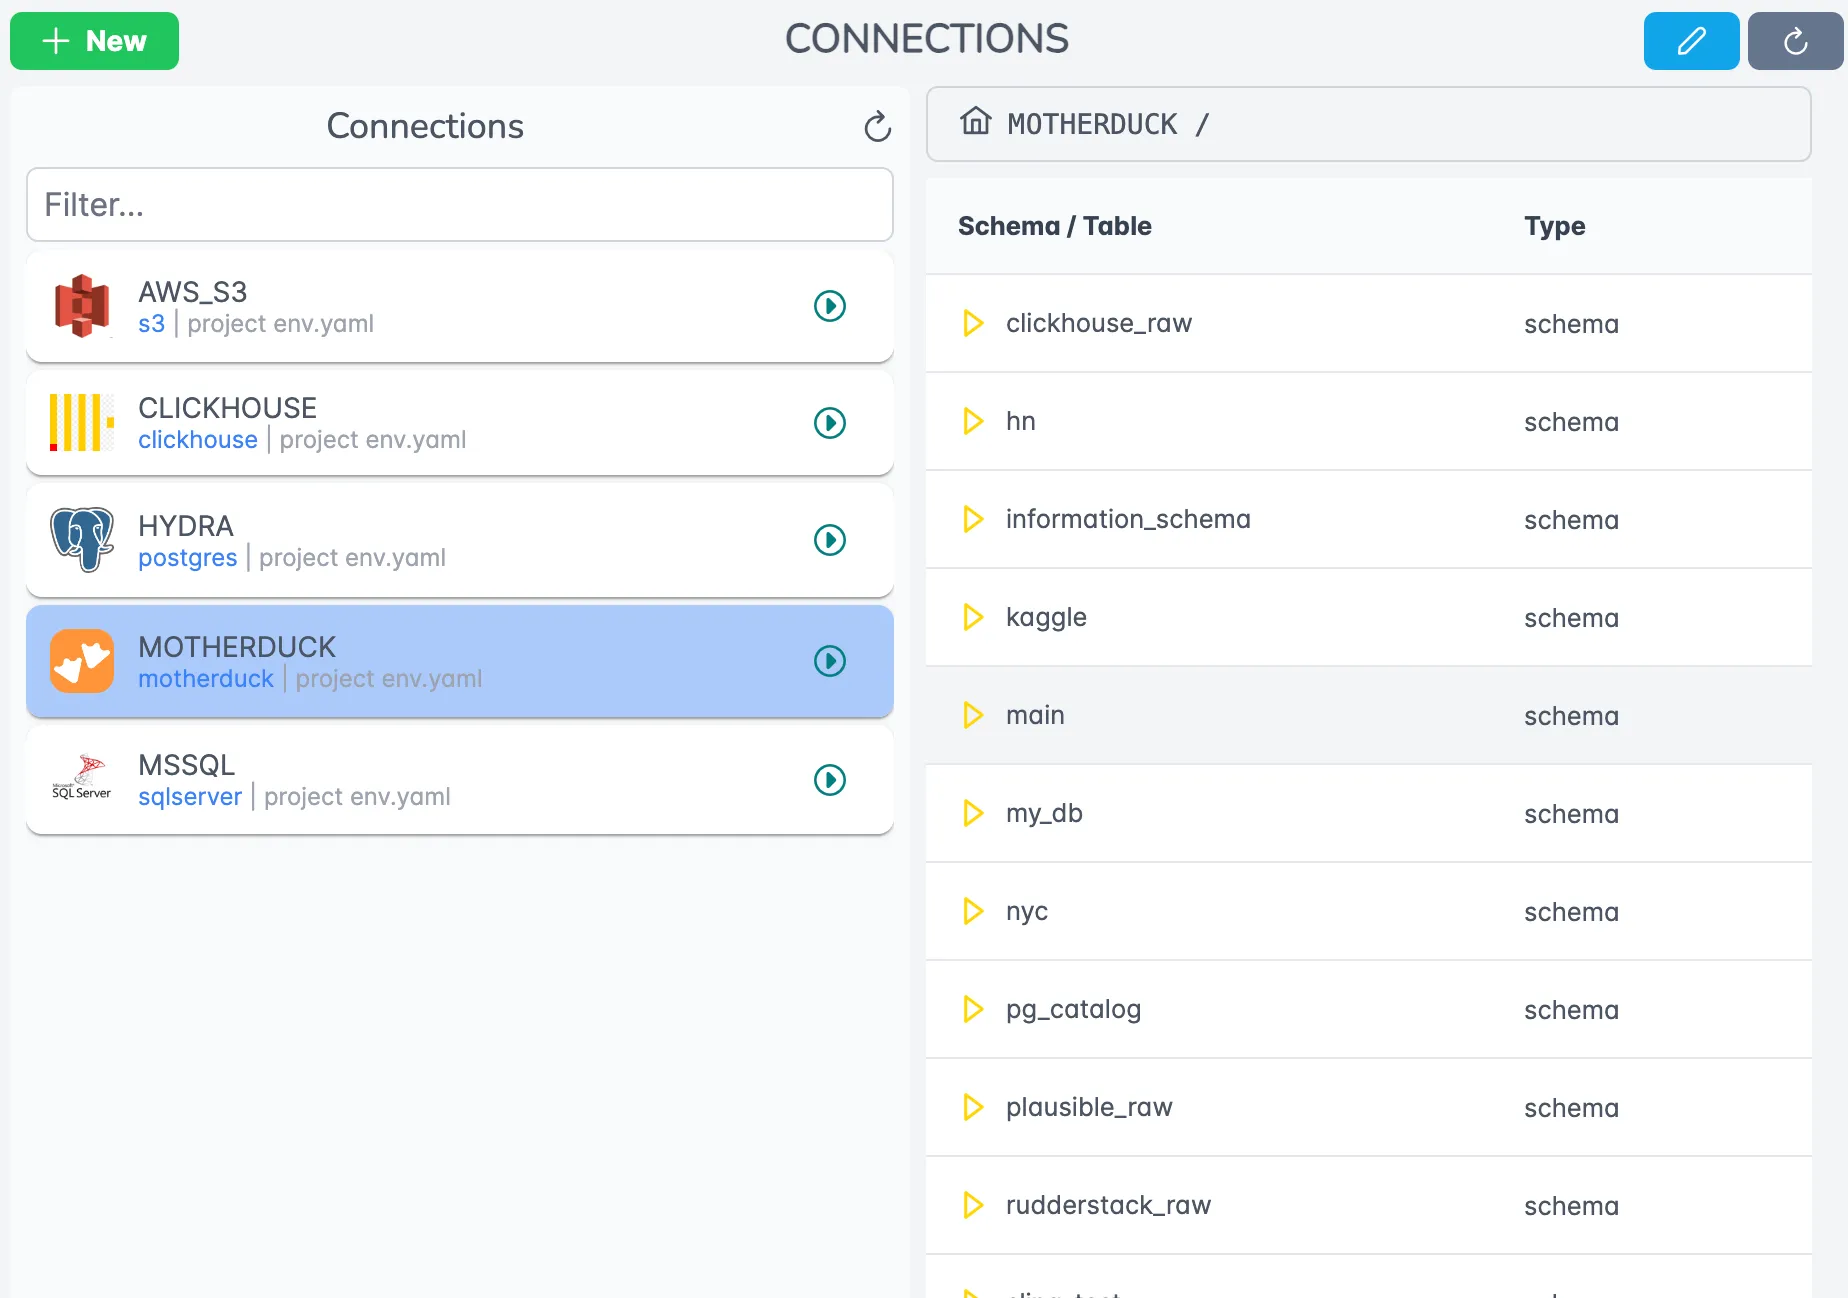
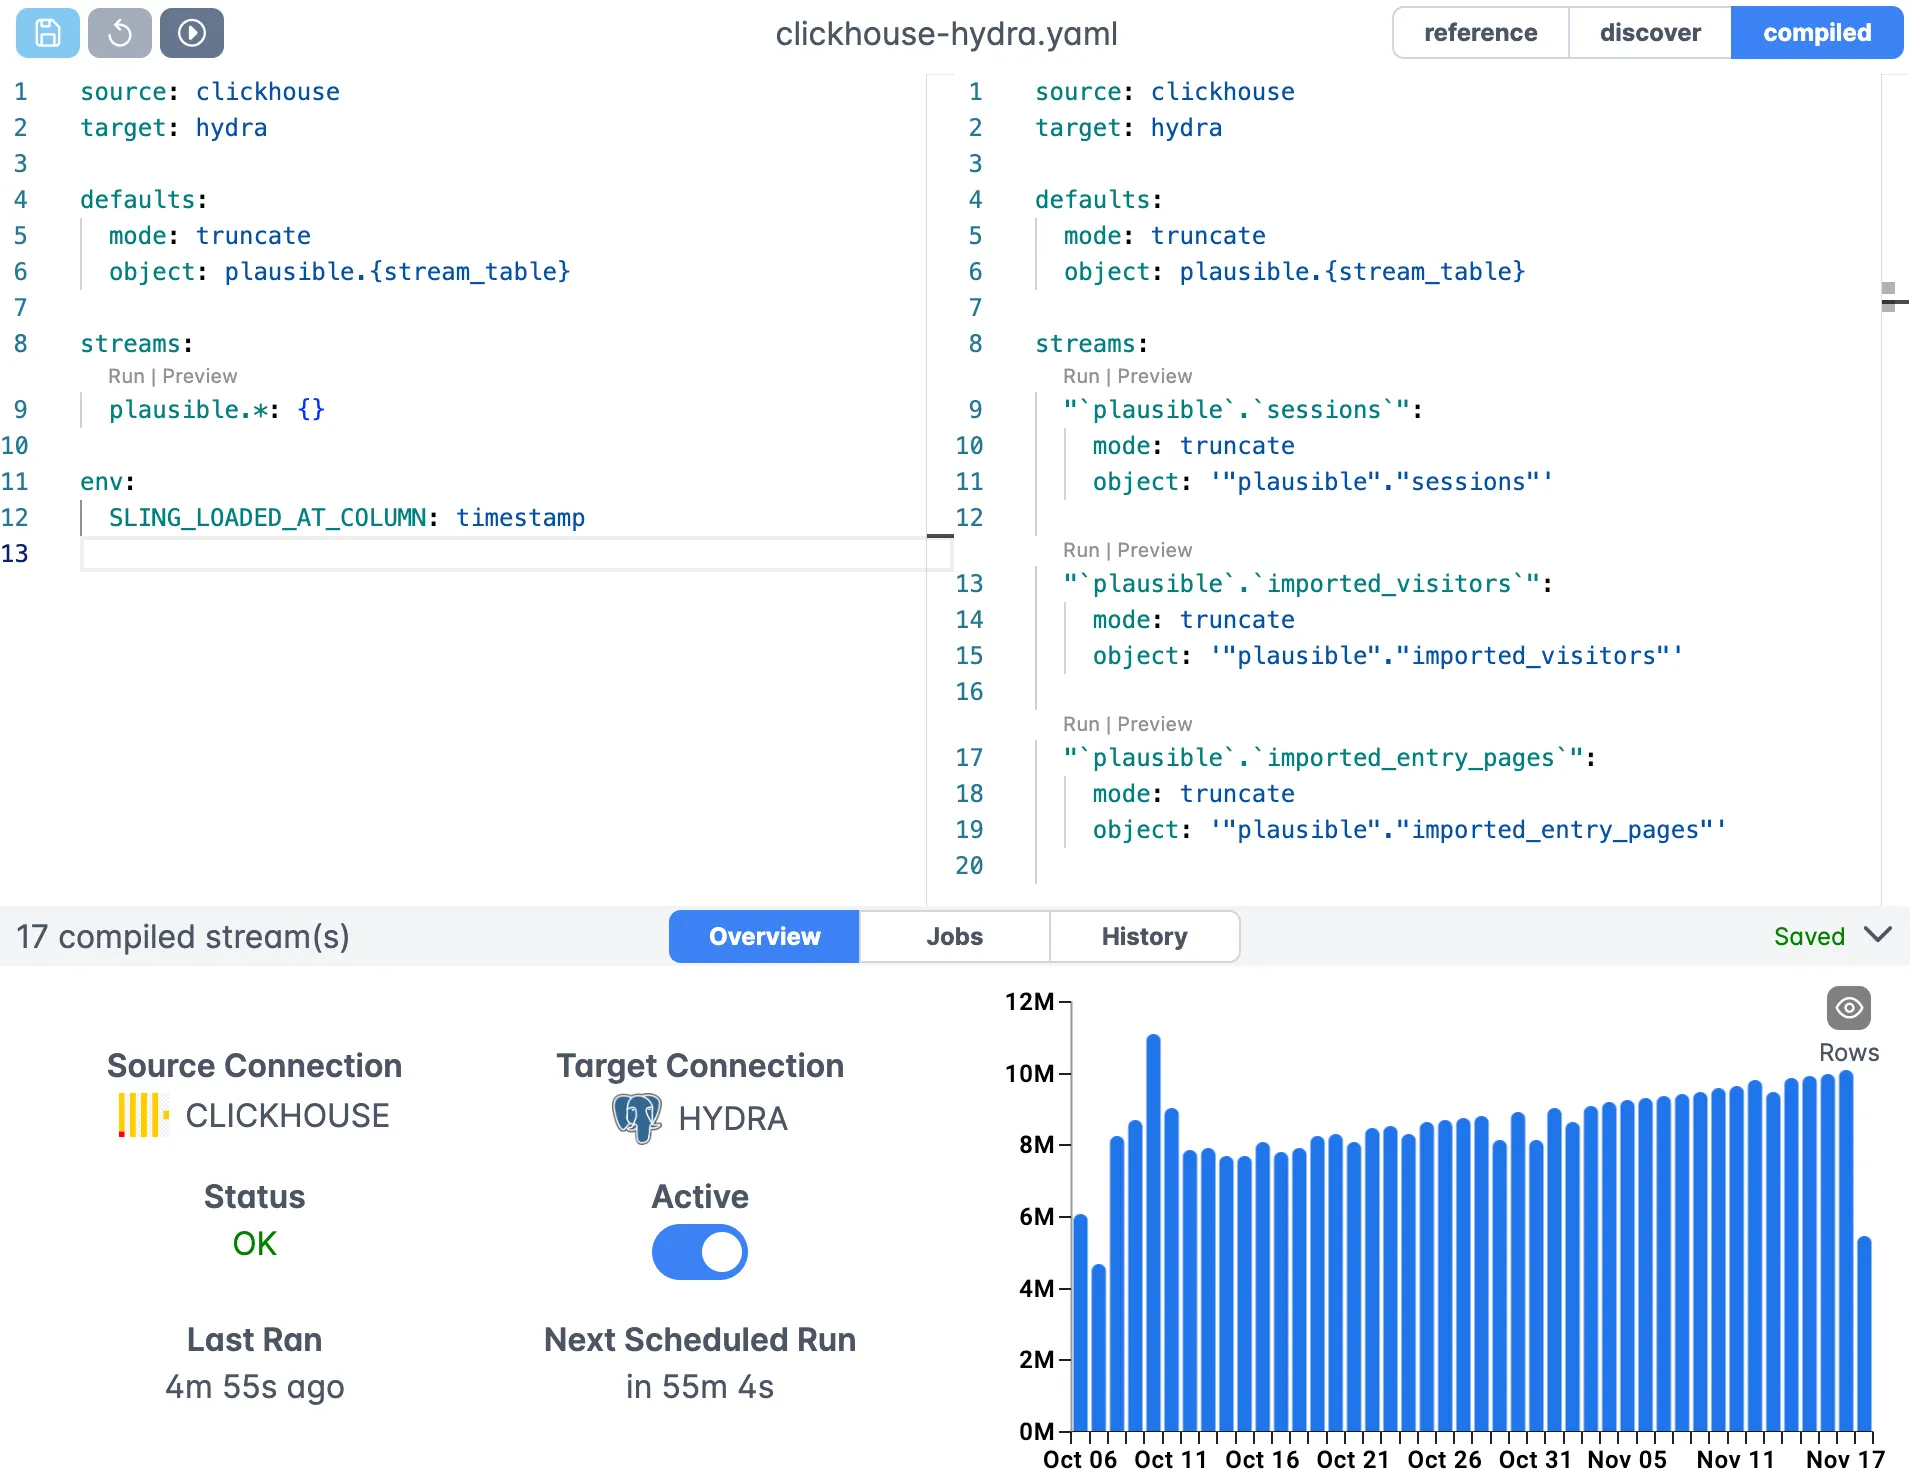
Sling Platform offers a web-based interface that includes:
- Visual connection management
- Interactive replication editor
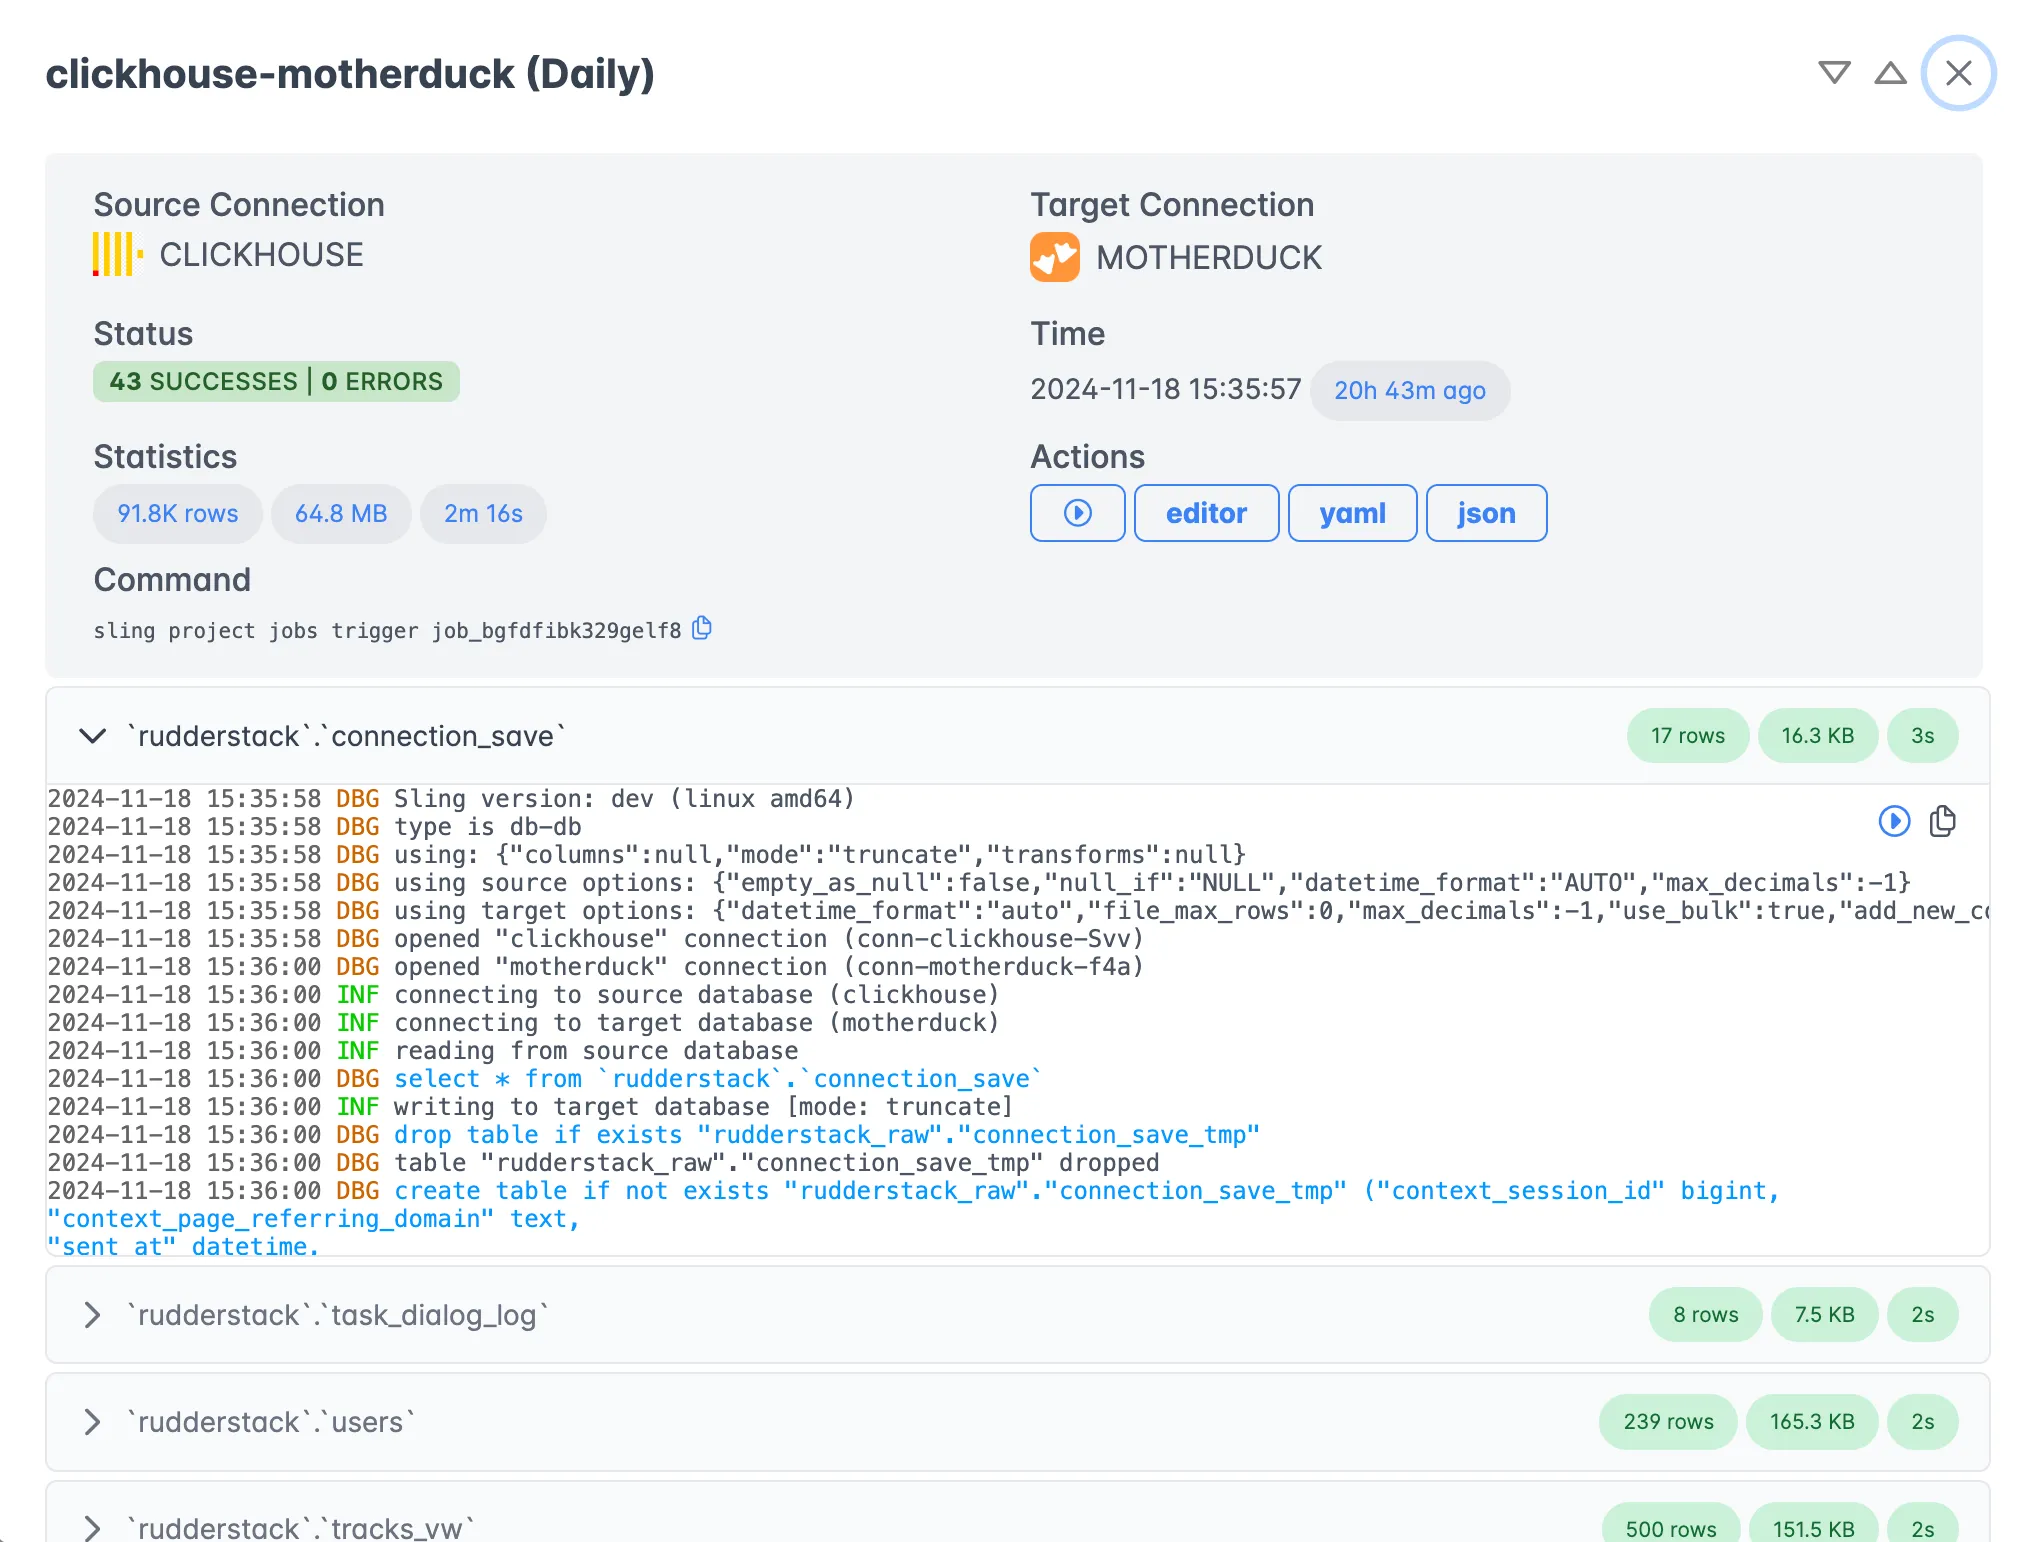
- Real-time monitoring
- Team collaboration features
Creating Connections
The platform provides an intuitive interface for setting up connections:
- Navigate to the Connections page
- Click “New Connection”
- Choose the connection type (SFTP or Snowflake)
- Fill in the connection details
- Test the connection before saving

Setting Up Transfer Jobs
Creating a transfer job in the platform is straightforward:
- Go to the Editor page
- Select your source (SFTP) and target (Snowflake) connections
- Configure your replication settings using the visual editor
- Save and test your configuration

Monitoring and Management
The platform provides comprehensive monitoring capabilities:
- Real-time execution tracking
- Detailed logs and error reporting
- Performance metrics and statistics
- Job history and analytics

For more information about using Sling Platform, visit the Platform documentation.

